Lets create treasure maps! This treasure map art project is perfect for kids between the age of 4 and 8, and it is easy to make both at home or in a classroom. This project encourages creativity, and it is a great activity to improve fine motor skills!

Creating a treastre map art proejct
This art project allows you to create a unique treasure map that helps kids improve their fine motor skills an stretch their imaginations. This project uses a mix of tearing, cutting and rolling paper, tracing, and drawing to create a fun challenge and create their very own treasure map. You can further increase the engagement of this art project in many different ways as well!
Related: Create a treasure box to hide and bury the treasure!
For more engagement, you could try creating a pirate ship from a cardboard box to go with their maps. You could also encourage your kids to go outside and explore while they try to find their treasure, or have them add traps to their treasure map and create a obstacle course for them to follow with their maps. You can even make and leave a treasure for them to find while they explore!
This article includes affiliated links.
Materials that you need to make the maps

How to make treasure map art
First step: Create the map

If you would like the paper to look old and worn you can soak the paper in coffee or tea and bake it, crumble it, tear it up, or even burn it a little bit with the help from adults. This step is optional of course. Then you can pour some beads, rice, or similar materials, then trace it to create random shapes on the paper. This will create the islands of the map.
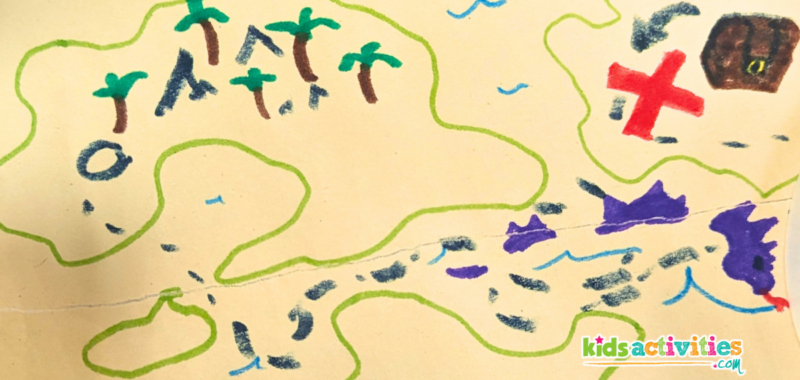
Second Step: Decorate the map

Now, using markers you will need to decorate the map. This is the most creative part of the art project. You can add anything from trees, to traps, to sea monsters or buried treasure with an “X” to mark the spot!
Third Step: Roll up the paper and tie it with string

The last step can be tricky, so your kids may need help from a friend or another adult to finish their maps. Roll up the paper once you are done decorating your treasure maps. Then tie a piece of string around the treasure map so that it can stay rolled up. You can always slide the string off so that you can unroll the map.
Our treasure map art projects!


Our treasure map art projects turned out so well! This was my favorite pirate themed activity! It was so easy to set up, the kids had so much fun making it and the cleanup was so easy! These maps were all so unique and creative and all the kids came up with different stories and even took their maps to the playground to go on a scavenger hunt. It was so adorable!
Active Time
25 minutes
Total Time
25 minutes
Difficulty
easy
Estimated Cost
$10
Materials
- – Paper
- – String
- – Tea or coffee to age the paper (optional)
Tools
- – Markers
- – Scissors (optional)
- – Beads, rice, beans, or similar materials (optional)
Instructions
- Create the paper for the map (optional). You can use coffee and tea to age it, tear it, crumble it, and burn it if you would like too.
- Draw the islands. Pour rice, beads, beans, or anything else you have on the paper, then trace the random shapes for islands.
- Decorate the map. With markers or crayons draw decorations for the map such as trees, waves, treasure, sea monsters, ships and more!
- Roll up the paper and tie it up with some string. Now you have your very own treasure map!
Explore more art and activities with kids activity blog for a fun adventure
What treasure did your map lead you too? Let us know in the comments below!