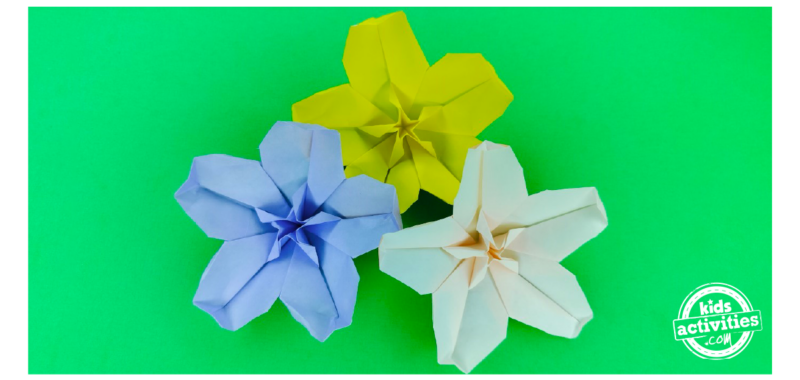
Ready for an exciting origami adventure?! In this origami flower tutorial, we’ll guide you through each step with easy-to-follow instructions and pictures, so you can make your own origami flower to decorate your home!

Origami is a fun way to explore your creativity and enhance your fine motor skills, all while making fun home decor. This origami flower is the perfect way to practice! So grab your square sheet of paper in your favorite color, a pair of scissors, and let’s get started.
Step 1
Start with a square sheet of paper with the white side up.

Step 2
Fold the paper in half lengthwise, from bottom to top.

Step 3
Take the right corner and fold it down to the middle, then open the last fold.

Step 4
Fold the bottom left corner to the previous crease we made.

Step 5
Holding the same piece, fold the corner to the edge, as shown in the picture.

Step 6
Fold the bottom right edge to the middle line too. Notice how a little bit of the top tip is over the edge!

Step 7
Fold the figure in half lengthwise.

Step 8
Using a pair of scissors, cut the figure in half crosswise.

Step 9
Take only the bottom part! Open it up, it will look similar to a star. How cool is that?

Step 10
Squash-fold it by the middle, folding corners to corners, until the fold looks like a triangle.

Step 11
Fold the top tip down to the bottom edge.

Step 12
Now, fold a bit of the tip again, but this time point up.

Step 13
Unfold the whole thing! You will see creases that resemble a spider web (if you use your imagination). Pinch each crease of the inner circle so they will stick out. Then, turn over and repeat the same step on the next outer circle. Once you’re done, pinch each of the corners like in the picture, and then fold all sections together so it looks like in the next step.

Step 14
Take one section, and fold the tip down about half an inch.

Step 15
Repeat the previous step in all other sections.

Step 16
Separate each section at the bottom, and using your fingers fold them as shown in the pictures below.


Step 17
Taking the last folds you made in the previous step, take the corner and fold it backward.

Step 18
Flip the figure over.

Step 19
Fold the tip of each petal backward, and voila! Your origami flower is done!

Tips:
To make your origami flower even more special, try using different types of paper, such as colored, patterned, or even glittery paper. You can also decorate your flower with stickers, markers, or add a little stem using a green pipe cleaner.
Active Time
35 minutes
Total Time
35 minutes
Difficulty
Hard
Estimated Cost
$1
Materials
- 1 square piece of origami paper
Instructions
- Start with a square sheet of paper with the white side up.
- Fold the paper in half lengthwise, from bottom to top.
- Take the right corner and fold it down to the middle, then open the last fold.
- Fold the bottom left corner to the previous crease we made.
- Holding the same piece, fold the corner to the edge, as shown in the picture.
- Fold the bottom right edge to the middle line too. Notice how a little bit of the top tip is over the edge!
- Fold the figure in half lengthwise.
- Using a pair of scissors, cut the figure in half crosswise.
- Take only the bottom part! Open it up, it will look similar to a star.
- Squash-fold it by the middle, folding corners to corners, until the fold looks like a triangle.
- Fold the top tip down to the bottom edge.
- Now, fold a bit of the tip again, but this time point up.
- Unfold the whole thing! You will see creases that resemble a spider web (if you use your imagination). Pinch each crease of the inner circle so they will stick out. Then, turn over and repeat the same step on the next outer circle. Once you’re done, pinch each of the corners like in the picture, and then fold all sections together so it looks like in the next step.
- Take one section, and fold the tip down about half an inch.
- Repeat the previous step in all other sections.
- Separate each section at the bottom, and using your fingers fold them as shown in the pictures below.
- Taking the last folds you made in the previous step, take the corner and fold it backward.
- Flip the figure over.
- Fold the tip of each petal backward, and voila! Your origami flower is done!
Notes
To make your origami flower even more special, try using different types of paper, such as colored, patterned, or even glittery paper. You can also decorate your flower with stickers, markers, or add a little stem using a green pipe cleaner.