Create this lily pad art project with paper and tissue paper and learn about Claude Monet with a fun art project! This project is made for kids between the age of 4 and 8. It improved fine motor skills and encourages creativity. This project is great for home or classroom setting, it is easy to set up and it is super fun!

Simple Tissue paper lily pad art project
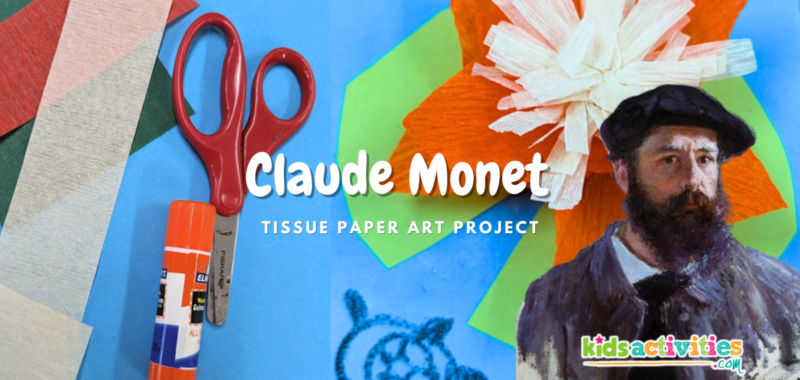
Creating this lily pad art project will challenge kids to be creative and work on developing their fine motor skills. It is very simple to set up, requiring only blue and green paper, tissue paper or streamers, scissors, and glue.
Related: Create a popsicle stick frog to live on your lily pads!
This article also includes an educational video about a famous artist named Claude Monet and his famous lily pad paintings. The video includes instructions at the end on how to create this art project.
This article contains affiliate links.
Supplies Needed to create lily pad art

Educational video with instructions to make lily pad art project
Steps to make this lily pad art project

1: Create a background for water
There are lots of different ways you can create a water background, use what works best for you! Some options you can use are watercolor paint, blue construction paper, or drawing it with markers. Just make sure the paper is big enough to hold your lily pads and flowers.
2: Cut out Lily Pads and glue them to paper
Cut out as many lily pads as you would like! You can make them different sizes and colors too! You can use a marker to draw the lily pads before you cut them so you have a guide to cut from. If you want you can also draw the lily pads on the paper instead of cutting them out of paper to make the project easier.
3: Cut 1 inch strips of tissue paper
Cut out long strips of tissue paper that are around 1-2 inch wide and about 8 to 12 inches long. It was easier to use streamers and took less time to prepare for this project.
4: Fold the tissue paper
Fold the tissue paper or streamers about 1 inch long over and over till you reach the end of the strip.
5: Cut the flower petals and glue to lily pads
Cut a curve on the sides of the tissue paper into a point at the top. Make sure the folded sides are on the sides and the bottom of the petal is flat. Then take the petals and glue the ends down in a circle to create the flower.
6: cut, roll, and glue on the center part of flower
With a different strip of tissue paper or streamers, cut little slits alone one side of the strip half way through all the way to the end. Then roll up the strip to create the center of the flower. Then glue the bottom of it to the center of the flower.
Finished lily pad art project

There are our lily pad art projects! We modified the art project a little bit for the younger kids since it was a little bit tricker to cut and roll up the center part of the lily flower, but they still loved it! Overall this entire project from setup to clean up took around 30 minutes and it was super fun to teach them about Monet while they worked on their art projects.
Prep Time
5 minutes
Active Time
20 minutes
Total Time
25 minutes
Difficulty
Medium
Estimated Cost
$1
Materials
- Construction Paper
- Tissue Paper or Streamers (both will work!)
Tools
- Glue Sticks
- Scissors
- Crayons
Instructions
- Create the background.
- Cut out lily pads and glue them to the water.
- Cut a 1 inch wide strip of tissue paper so it is 8-10 inches long.
- Fold the tissue paper 1-2 inches long over and over.
- Cut out a petal shape from the tissue paper, and glue them in a circle to the lily pad.
- With a different strip of tissue paper cut slits on one side all the way to the end, then roll up the strip of tissue paper and glue the flat side to the center of the flower.
More famous art from Kids Activities Blog!
Other Tissue paper arts and crafts to try:
Did you learn anything cool from lily pad art? Tell us what your favorite part was in the comments below!